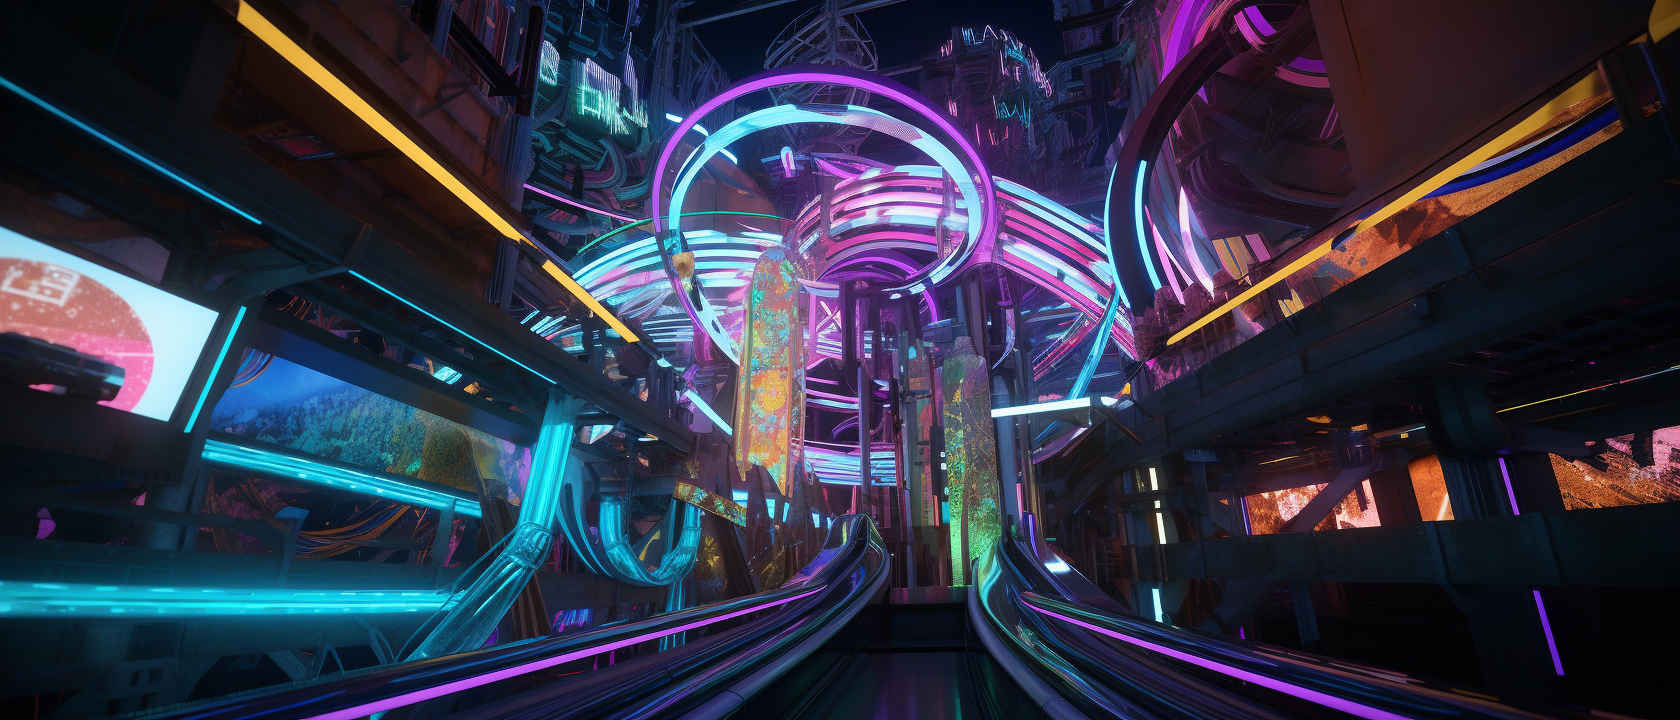
Welcome to my 3D motion design process roller-coaster ride!
Quite a mouthful - I know!
Fasten your seatbelts and hold on tight, as we embark on a rip-roaring journey through the ultimate creative process!
From laying a solid foundation with your client to celebrating the grand reveal of your masterpiece, I'll guide you through every loop, corkscrew, and freefall in the process.
So, strap in, and let's dive right in!
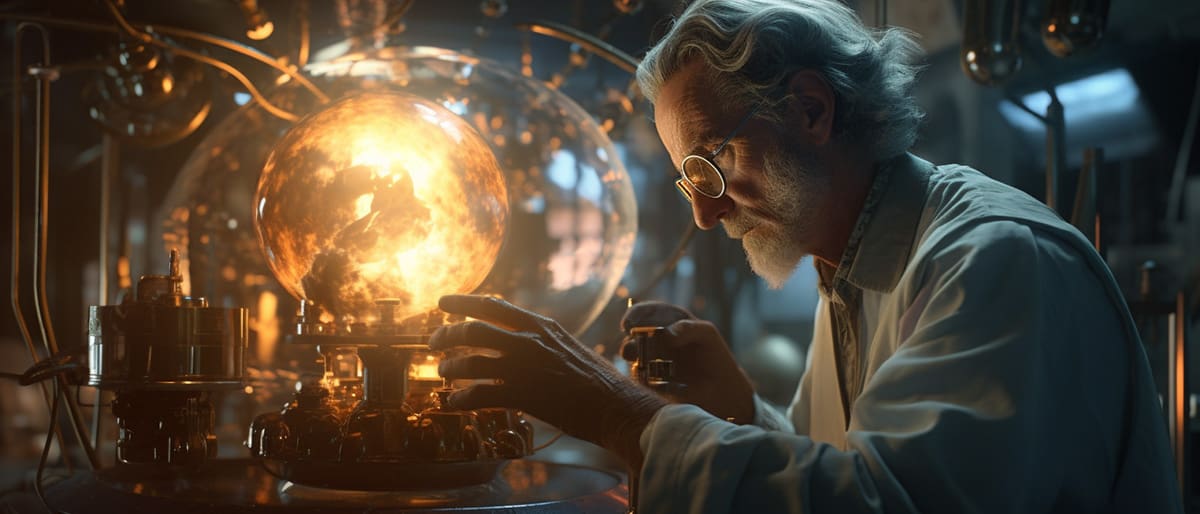
3D Motion Design Process Tip
Business First: The Foundation of Our Roller Coaster
Let's say you've just landed a new project. What's the first thing you do?
You: open up Cinema 4D and start designing?
Nope! Business first, play later.
A smooth project is like a well-oiled roller coaster – thrilling, but safe and secure!
That's why it's important to lay a solid foundation with your client first, by:
- Signing NDA and contract
- Being crystal clear about deliverables
- Explaining sign-off stages
- Setting a limit on rounds of revisions
- Informing about a 50% upfront deposit
- Including terms and conditions on your quote
So with that out of the way, let's get going!
Step 1: Research - The Great Design Detective Agency
After taking care of business, it's time for some research.
This is like putting on your Detective Gadget hat and getting to the bottom of the case.
You want to get a clear understanding of the audience and project goals.
What's the quality bar we need to hit?
You might ask for a written brief or take notes from a call, but no matter what, it's essential to rewrite the brief into your own words and send it to the client to make sure you're both on the same page.
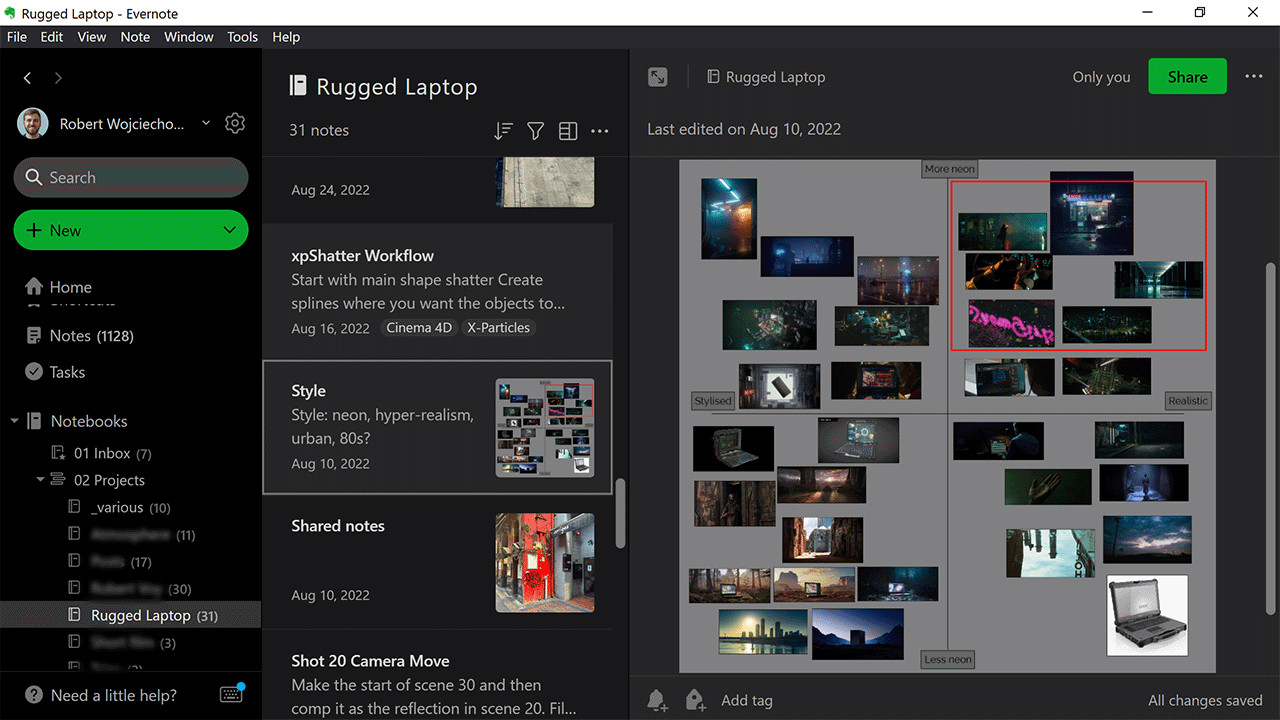
Like a magpie collecting shiny objects, amassing useful materials in one place, whether that be an Evernote notebook or the back of a napkin, don't be afraid to write down anything that comes to mind.
Seriously, even if it's on the toilet with your phone - inspiration can strike at any moment!
Use notes, inspiration, and resources from previous projects as a helpful guide. That's why it's great to store these in one place because you can easily reuse them.
Step 2: Brainstorm - The Idea Factory
Once you've got all your research, it's time for brainstorming.
This is like pouring out a big box of Legos on the floor and seeing what shapes and structures you can create.
Start with words to get all your ideas out of your head so you can start plugging them together, then use mind mapping software to make it more visual.
And if you're feeling stuck, don't worry - you can use ChatGPT to generate related words to help you spark ideas.
Here is a prompt for that:
Generate a list of related words and concepts based on the following brainstorming session input words: [list of words]. The aim is to inspire new ideas and expand on the original concepts.Essentially, it's like a magical word cauldron, bubbling with potential.
Step 3: References - The Curator of Inspirational Artifacts
As a curator of inspiration, select the best reference material like a discerning collector.
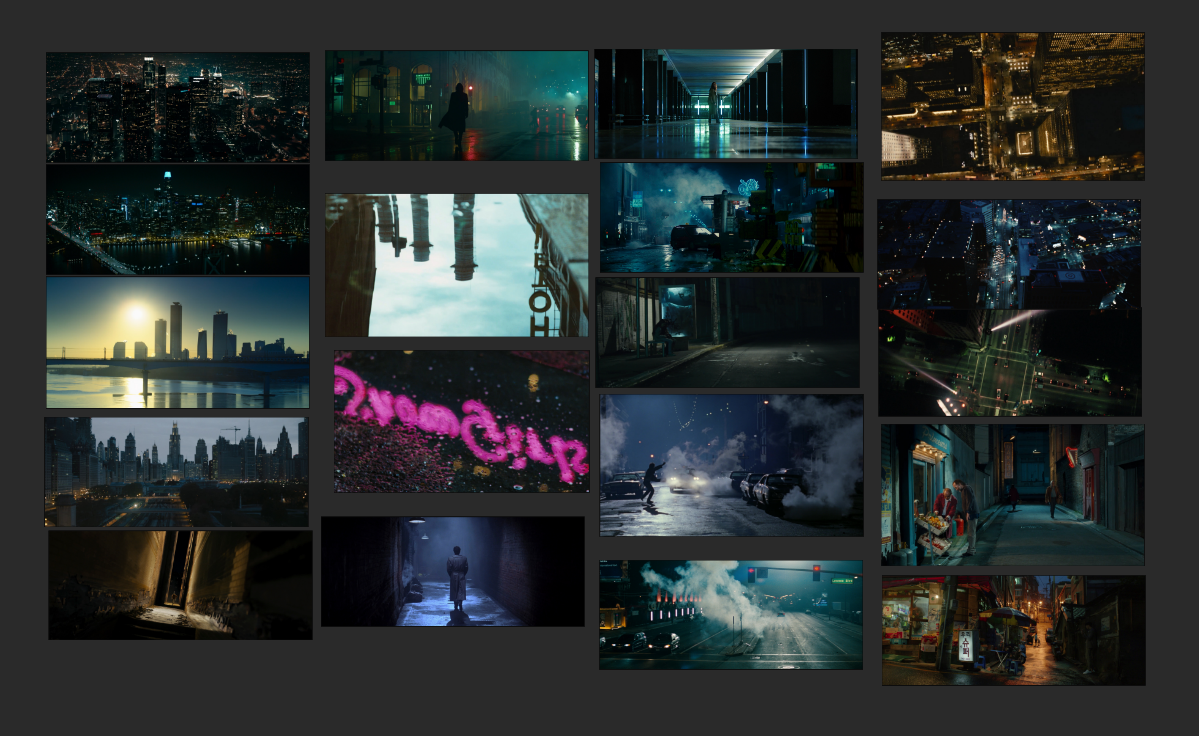
Don't get overwhelmed with references; instead, follow these rules:
- Quality over quantity - Focus on collecting a few high-quality references instead of hoarding an enormous pile of resources.
- Know the purpose - Make sure you understand the specific purpose of each reference material for your project. Is it guiding color choices, composition, or animation style?
- Organise with care - Sort your references by project, category, or any system that suits you best.
- Refine - Remove anything that no longer contributes to your creative vision, and add new pieces that better align with the direction of your project.
Remember: your work is only as good as your references.
A smaller, high-quality collection will help you create exceptional work.
Step 4: Style range finder - Defining the Boundaries
Style range finders, a concept introduced to me by Ron Ashtiani, are a visual way to navigate the vast ocean of design possibilities and chart a course for your project's visual style.
Using a style range finder helps determine what the style for the project is and what it's not.
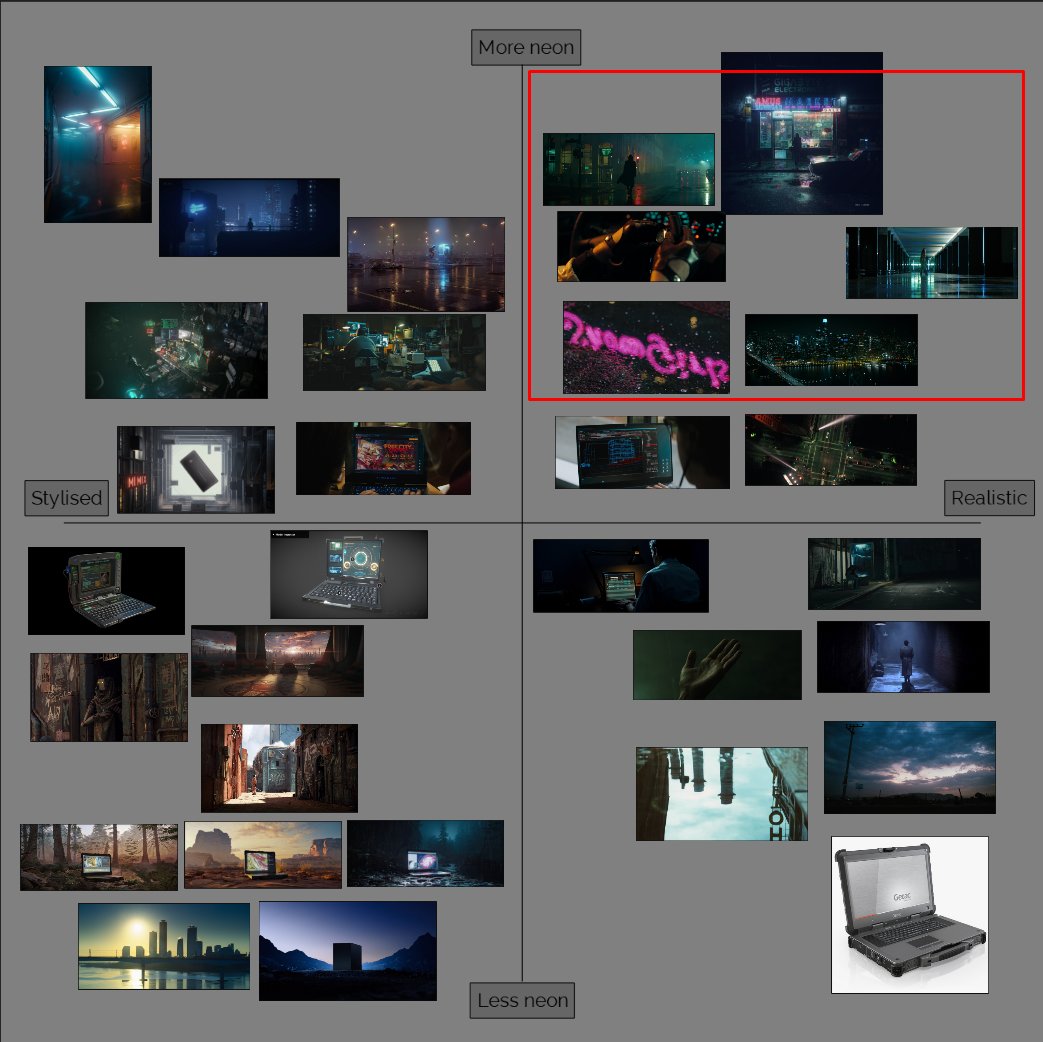
This is how you do it:
Step 1: Split a canvas into X and Y axis.
Generally, you would assign opposing concepts to the ends of each axis.
For example:
- Photorealistic at +X
- Cartoony at -X
- Colourful and vibrant at +Y
- And dark and moody at -Y
Step 2: Add images representing different styles and position them on the axes.
Step 3: Highlight the area on the range finder that best represents the visual style you want to achieve.
Final step: Share the style range finder with your team and client to ensure everyone is on the same page.
Style range finders help dial in the style, set some boundaries, guiding you through the wilderness of design possibilities.
Step 5: Concept Art In The 3D Motion Design Process?
Controversial? Maybe.
Ingenious? Definitely!
Let's talk about using text-to-image AI to generate concept art.
This is an awesome way to streamline the process, get the client on board for your vision and communicate with your team about where we're heading.
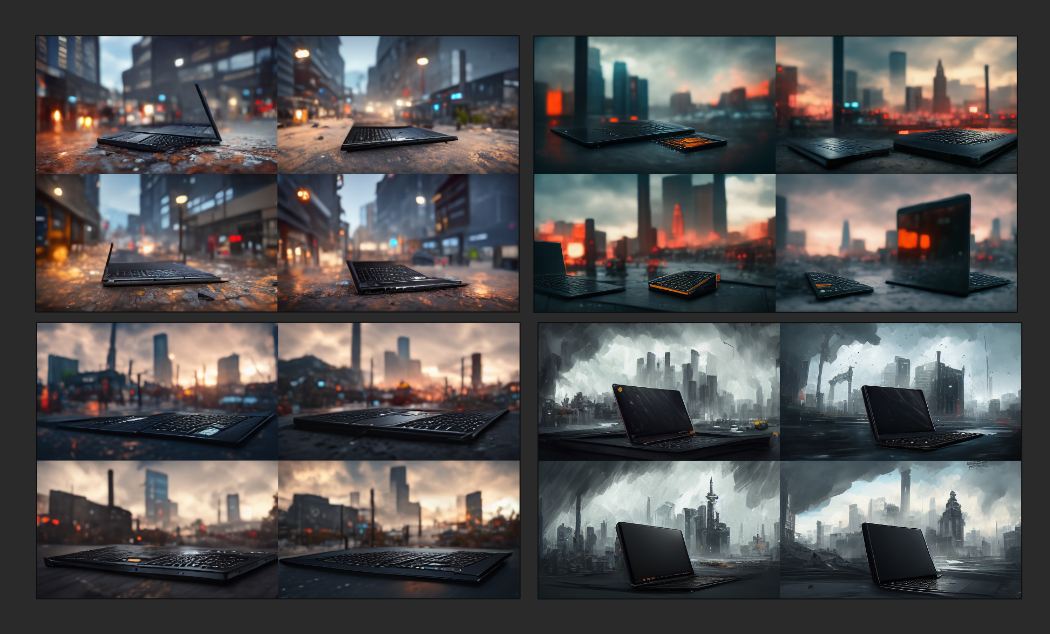
This is how to do it:
- Start by engineering a prompt based on your vision, research, and references.
- The better your prompt, the closer you will get to your vision.
- Now, generate as many options as you have time to do.
- Be very pick and select the best 4.
- Photoshop and use in-painting to improve further.
Bonus! Here is an example prompt format that works great with Midjourney:
STYLE: Cinematic Shot | GENRE: Drama | EMOTION: Anticipation | SCENE: A city street background, rugged laptop in the foreground, sunset, clouds, wet surface | TAGS: 8k, shot from movie, cinema composition shot, professional color grading, epic volumetric lighting, sharp focus, film grain, atmosphereMake sure to be clear with your client and team that the images are generated by AI and its purpose is to help visualise the final result.
It's like a glimpse into a parallel design universe!
Step 6: Art Direction For 3D Motion Design - The Creative Traffic Cop
The art director is like a traffic cop at a busy intersection of ideas – directing the flow and keeping everything in order.
It's also the art director's job to create the rule book.
Create a comprehensive PDF outlining the art direction, complete with:
- References
- Concept art
- Visual descriptions
- Style rangefinders
- Design elements
This will provide a clear roadmap for everyone involved in the project.
Once approved, join forces with other artists to bring the vision to life, using the art direction document as a helpful guide.
Regularly review the project's progress and compare it to the art direction document.
Make any necessary adjustments to ensure that the final result is consistent with the initial vision.
By effectively managing the art direction, you can ensure a smooth creative process that delivers a cohesive and visually stunning final product.
3D Motion Design Process Tip
Project Management: Keep Calm and Stay Organised
Best project management is simple.
The less resistance to using it, the more it will hold up during a busy time.
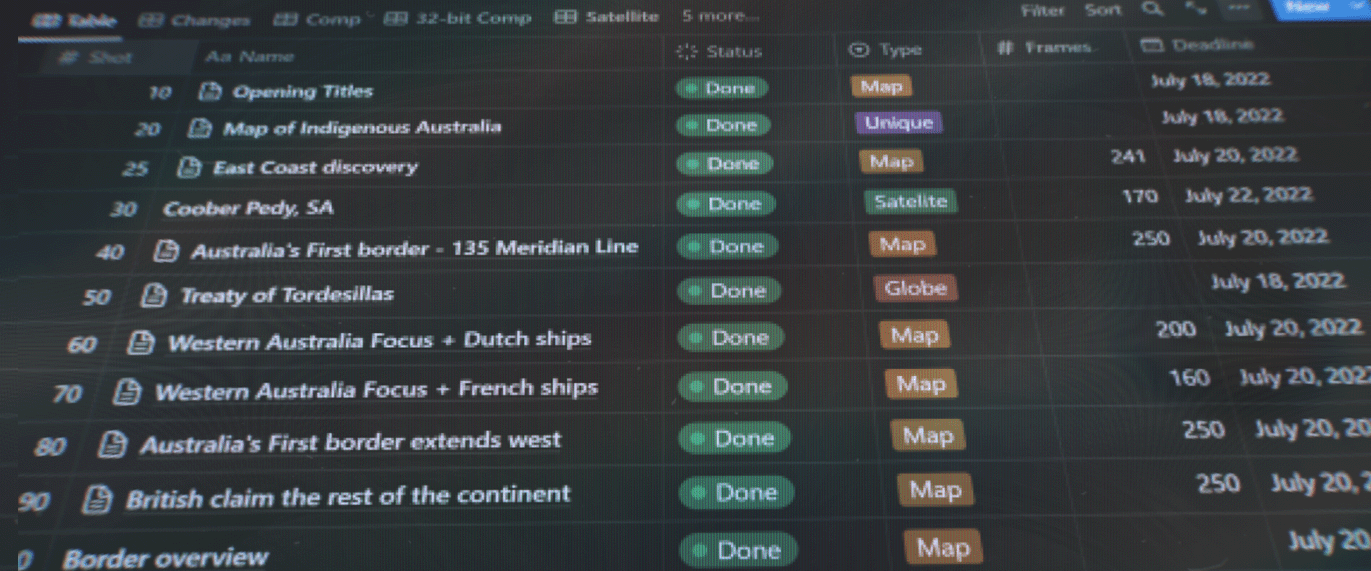
A well-defined project management system enables you to:
- Track project progress
- Break down shots into tasks
- Schedule tasks into my calendar
- Store all knowledge packets in one place
- Communicate effectively with the client
Using three free apps — Evernote, Notion, and Todoist — you can easily manage all of your projects.
To learn more about my project management system and how you can implement it into your own 3D motion design process, follow the link.

Step 7: Styleframes - The Creative Sandbox
Now, let's talk about styleframes. This is where the magic happens.
Styleframes are the heart and soul of the 3D motion design process.
Styleframes are your opportunity to experiment and push boundaries.
Working within the constraints set by the art direction, you create still frames as if they were taken from the final piece.
Embrace the chaos and don't worry about perfect organisation – "test_001.c4d" file names are just fine.
The messier, the better!
It's all part of the creative process.
It's essential to allow yourself the freedom to explore without getting bogged down by details.
You can always tidy up later.
Though, keep in mind that if the frames get approved, you or someone else will need to use your scenes to create the animations.
So, while it's important to let your creativity run wild, it's equally crucial to strike a balance between artistic exploration and practicality.
The key here:
Iterate fast and get to the best design possible that will set the bar for the rest of the project.
3D Motion Design Process Tip
Stages and Sign-off: The Art of Commitment
A clear understanding of the sign-off process is super important to ensuring smooth project progress and keeping both you and your client on the same wavelength.
Make sure your client understands that once a stage is signed off, going back incurs extra costs.
This encourages clients to:
- Carefully consider their feedback
- Take the time to review each stage thoroughly
- Consolidate notes from all stakeholders
It also helps to avoid a scenario where clients are quick to approve early stages and then pull the project apart at the very end.
The stages that require sign-off include:
- Art direction
- Styleframes
- Drafts
- Final composition
Typically, I include two rounds of revisions per stage, with the option for additional revisions at an extra cost.
This approach creates an efficient review process and helps maintain the project timeline.
By mastering the art of commitment in the sign-off process, you'll foster a more efficient and collaborative working relationship with your clients, ultimately leading to a successful and satisfying 3D motion design project.
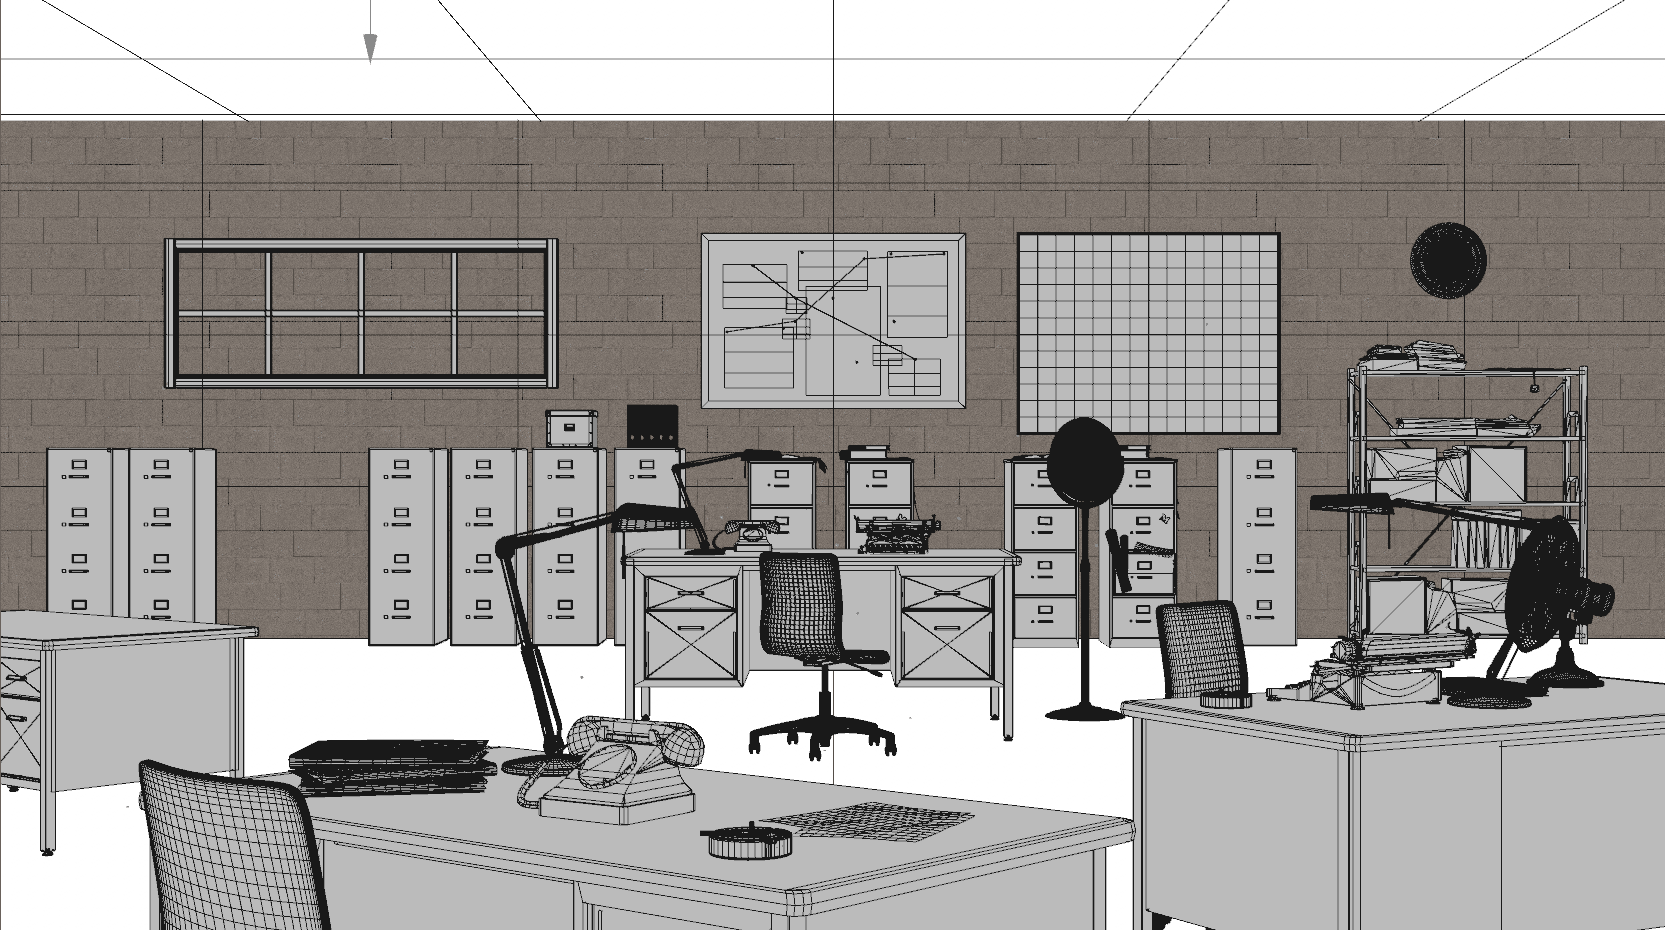
Step 8: Production - The Joy of Creation
Every 3D motion designer knows this step well. It's the moment when all the meticulous planning and preparation come together, and your creative vision starts to take shape.
If you've done your homework in the previous steps, this stage should be a joy.
You'll be able to tackle the tasks at hand with confidence and efficiency, knowing that you have a solid foundation to work from.
You should have a clear picture of:
- Where you're heading (the overall creative vision)
- What needs to be done (the specific tasks)
- When it needs to be done (the deadline and stages)
It's time...
Production mode: ON
Production in the 3D motion design process involves several critical components that work together to bring your creative vision to life:
- 3D Modeling - Creating three-dimensional objects and environments
- Layout - Establishing the composition, camera angles, and the arrangement of elements within the scenes
- Rigging -Setting up the underlying structure and controls that enable your models to move and interact realistically
- Animating - Breathing life into your models by adding movement, expressions, and timing
- Simulation - Incorporating realistic physics, dynamics, and other environmental factors into your design
- Texturing - Applying colours, patterns, and surface details to your models to give them a realistic appearance
- Lighting - Establishing the illumination sources, shadows, and reflections that create mood, depth, and visual interest
Make it a habit to render something at the end of each day to show progress to the team.
These daily progress updates, just like dailies in film production, help keep everyone informed and motivated.
They also provide valuable opportunities to catch any issues early, before they become more challenging to address later in the process.
It's also a great way to document the project to use later in case studies.
Embrace the joy of creation during the production stage, as your hard work and careful planning come together to bring your 3D motion design masterpiece to life.
Step 9: Playblasts - The Rough Cut Preview
Playblasts or viewport previews are an essential part of the 3D motion design process, providing both you and your client with a rough preview of the piece in action.
These low-resolution, real-time previews allow everyone to:
- Preview the animation
- See how the piece works as a whole
- How individual shots work within the edit
- Whether everything is progressing according to plan
And if revisions need to be made, it's easy to make changes at this stage.
My recommendation: assemble a rough cut with the playblast as soon as possible.
It's like like sketching out a rough shape of what you are going to draw.
When showing the client, I try to make the viewport look as good as possible while reminding them that this is only a preview.
Some designers even superimpose styleframes in the corner over the playblast rough cut to further emphasise that the preview is not the final product.
By incorporating rough cuts using playblasts, into your 3D motion design process, you'll enable smoother communication, more efficient revisions, and a clearer understanding of the project's direction for both you and your client.
This ultimately leads to a more successful and satisfying final result.

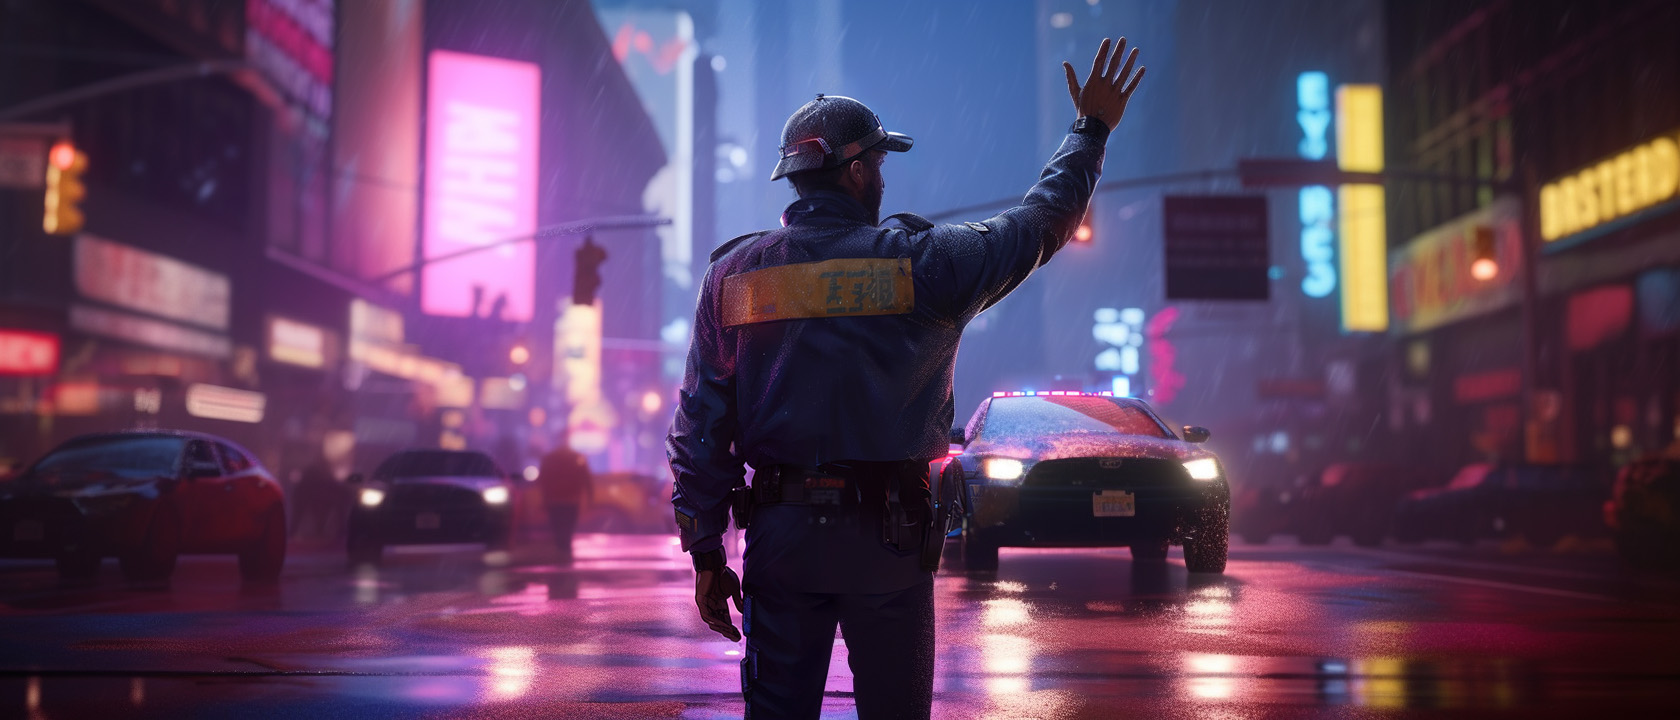
Step 10: Final Piece - The Grand Reveal
At this stage, the client should already be eagerly anticipating the final result, thanks to the playblast and styleframes previews.
Now it's time for the pièce de résistance—the grand reveal.
First, decide whether to commit to a final render or start with a lower-resolution render to check for any issues.
The choice depends on the project's complexity and the time you have available.
For larger projects, consider using a render farm like Fox render farm.
The final composition should delight the client, like witnessing the transformation of a rough rock into a polished diamond.
If any major changes are needed, consider using VFX techniques to make adjustments to the renders, as they might be faster than re-rendering.
To maintain flexibility in the composition, render plenty of AOVs, also known as render passes.
This allows for a wide range of tweaks and adjustments if required, ensuring the final product shines bright and meets the client's expectations.
And voilà! Your masterpiece is ready for its grand reveal.
3D Motion Design Process Tip:
Feedback: The Artful Tango of Revisions
Delivering your work with pride and confidence is key to a successful project.
Present your work in the best possible way.
Take the time to create a well-designed PDF for the art direction and style frames.
Use a feedback platform that will do justice to your work.
A user-friendly, visually appealing platform can make all the difference in showcasing your work.
For clients who may be new to the process, ask specific questions to help them provide the feedback you need. By gently guiding them through the process, you can ensure a harmonious and productive exchange of ideas.
In some cases, it's useful to rewrite the client's feedback in your own words and send it back to them.
This ensures that both you and your client are in sync and ready to move forward together in perfect harmony.
By following these steps, you'll create a smooth feedback process that leads to a beautifully choreographed final product.
You've arrived at the end of the...
3D Motion Design Process Roller-coaster Ride!
Congratulations, you've reached the end of this heart-pounding adventure through the world of 3D motion design!
You've navigated the hairpin turns of project management, soared through the sky with styleframes, and braced yourself for the breathtaking drop of the final composition.
Now that you've mastered the art of the 3D motion design roller coaster, it's time to take your newfound skills and embark on your next thrilling project.
With the knowledge and tools you've gained, you're ready to create visual spectacles that will leave your clients and audiences craving for more.
So go on, jump back on the coaster, and get ready to conquer new heights in the world of 3D motion design!
Until next time, happy creating!